Genymotion, a faster emulator for Android development
One of the pains of Android development is the ridiculously slow Android ARM Emulator. I want to be able to code and test in the Android Emulator similar to the experience I had with iOS development. The default Android Emulator in ARM is painfully too slow for me.
Intel HAX
Intel Hardware Accelerated Execution (HAX) is an attempt by Intel + Google to speed up Android Emulation.
The Intel Hardware Accelerated Execution Manager (Intel® HAXM) is a hardware-assisted virtualization engine (hypervisor) that uses Intel Virtualization Technology (Intel® VT) to speed up Android app emulation on a host machine. In combination with Android x86 emulator images provided by Intel and the official Android SDK Manager, HAXM allows for faster Android emulation on Intel VT enabled systems.
- Download Intel HAX from the Android SDK Manager

- install from
/android-sdk-osx-path/extras/intel

- Confirm if Intel HAX was installed property
/Developer/android-sdk-macosx% kextstat | grep intel 142 0 0xffffff7f825a1000 0x11000 0x11000 com.intel.kext.intelhaxm (1.0.6) <7 5 4 3 1> |
Genymotion
Android expert, Genymobile aims to make developers and professional users of Android life easier by using simple and efficient tools. The Genymotion team is composed of 10 persons living in Paris, Lyon and soon San Francisco.
-
You need to Signup in Genymotion
-
Click the link provided in the email confirmation to activate your account. This allows you to download the genymotion app.
-
Go to https://cloud.genymotion.com/page/launchpad/download/ and download genymotion.
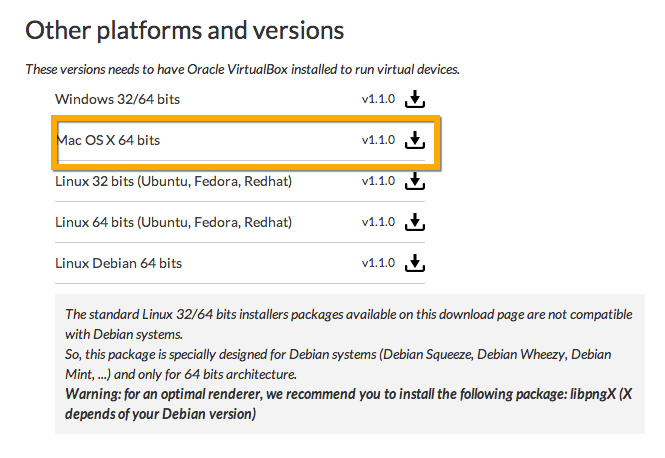
-
You should have http://www.virtualbox.org installed. If not, get it before proceeding.
-
Install the genymotion package to your
Applications. Drag both items to yourApplications.
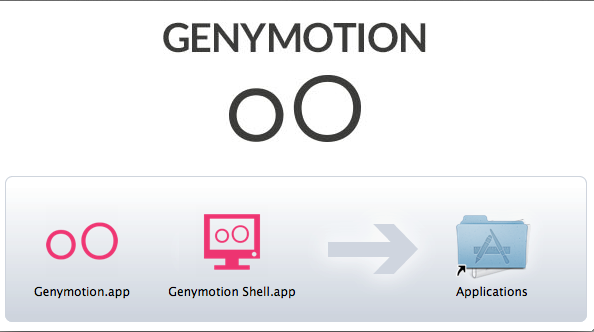
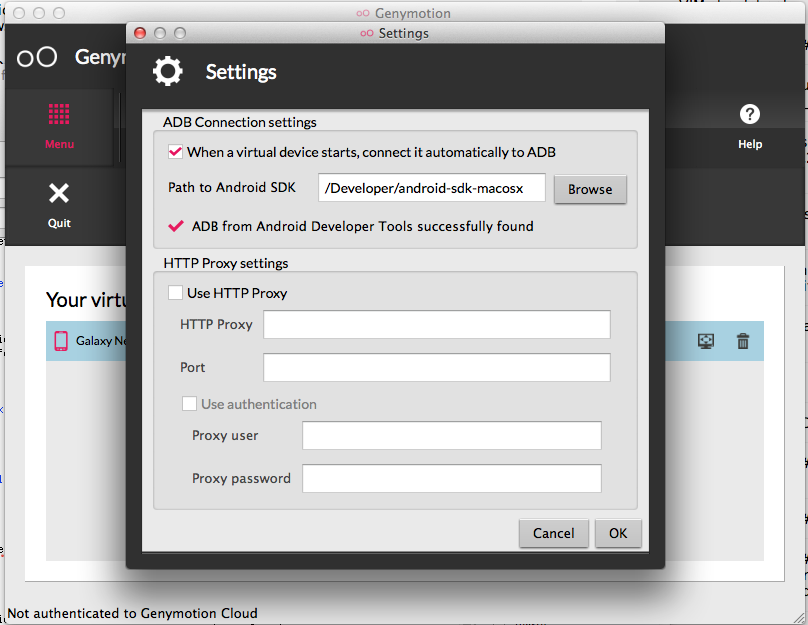
- Launch the genymotion application and specify
android-sdk-osxpath in genymotion’s settings.
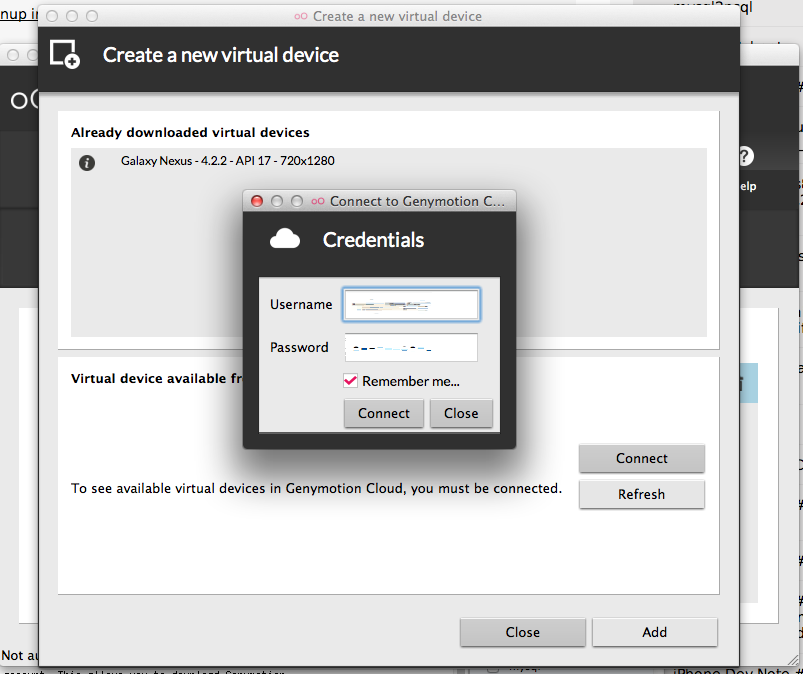
- Click on “Add” to Create a new virtual device. It will ask for your genymotion’s credentials
- Select from the virtual images. Click “Next” to download.
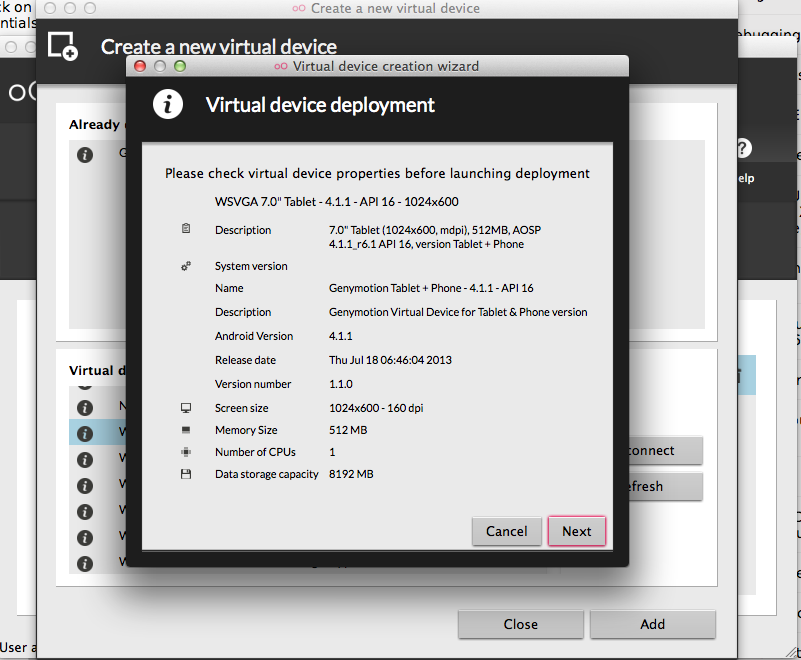
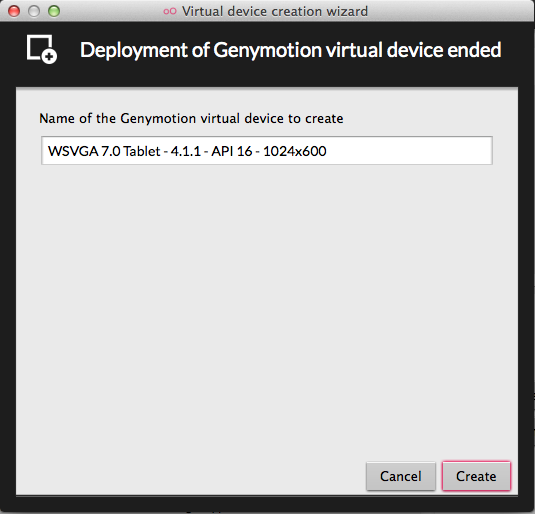
- Specify a name
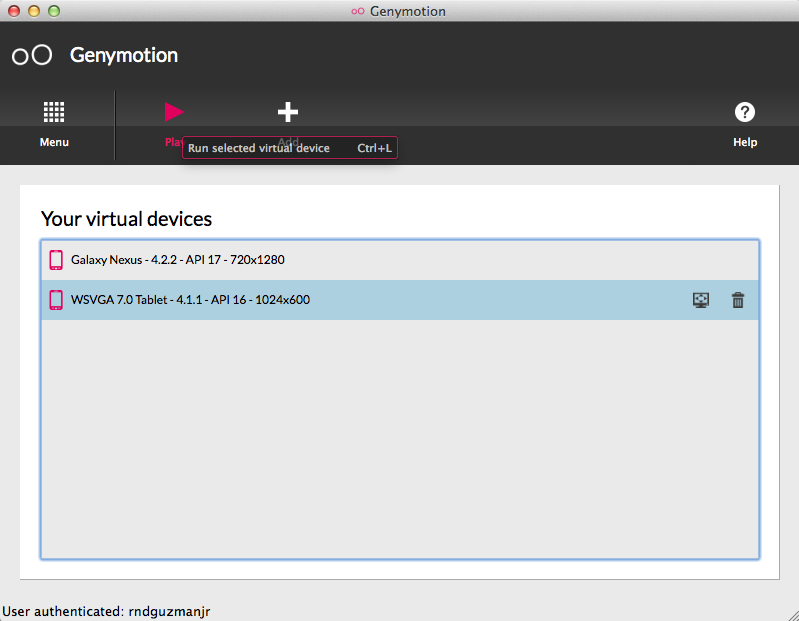
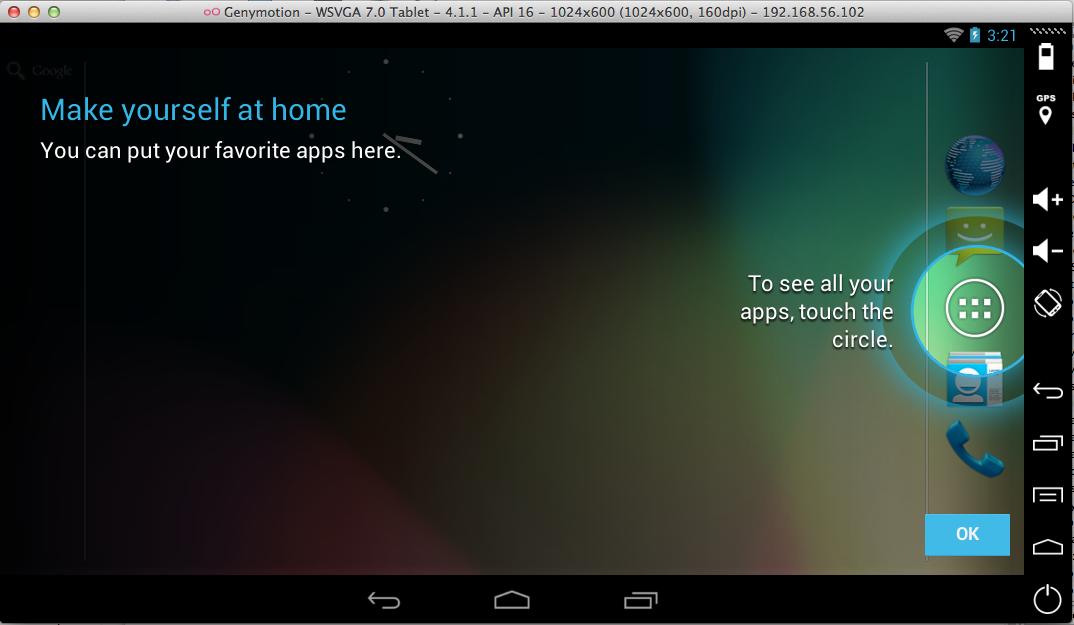
- Test the image if it runs.
UPDATE: Nov 22, 2013
To PERMANENTLY allow su_access or display the virtual keyboard in the settings of the Genymotion Configuration. See http://stackoverflow.com/questions/19107507/genymotion-allow-su-access-permanently
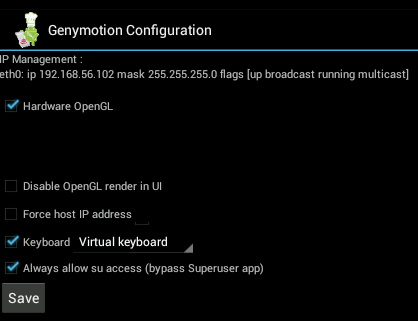
VBoxManage guestproperty set "WXGA 10.1 Tablet - 4.2.2 - with Google Apps - API 17 - 1024x768" su_bypass 1 VBoxManage guestproperty set "WXGA 10.1 Tablet - 4.2.2 - with Google Apps - API 17 - 1024x768" vkeyboard_mode 1 |
Integrating GenyMotion with IntelliJ IDEA
-
Open IDEA’s settings (Command + ,)
-
Click on Plugins > Install JetBrains plugin > Search “genymotion” > Download and Install.

Note: If you are using IntelliJ Idea 13 Community Edition EAP, you might need to install the plugin from disk.
-
Restart IntelliJ so it can load the genymotion plugin
-
Open up a sample app, i.e hello_world. In IntelliJ, you should see the red genymotion icon.
![]()
- From the Genymotion Device Manager, select the virtual device and click on “Start”.
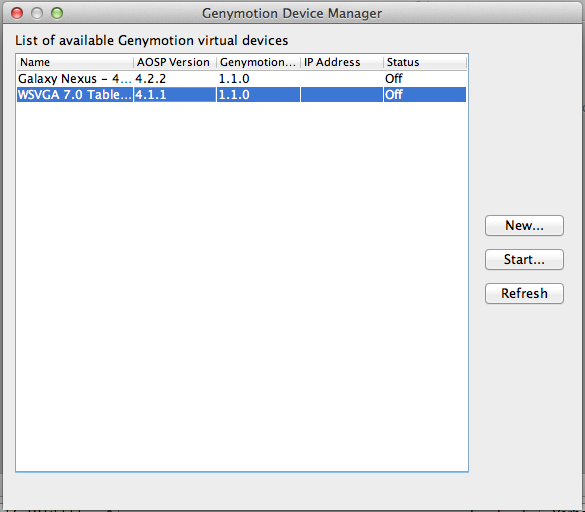
To check if it started correctly, run adb devices.
~% adb devices List of devices attached 192.168.56.102:5555 device |
- In Idea, click on “Edit Configurations”. Ensure that “Show chooser dialog” is chosen under Target Device. This allows us to choose the genymotion virtual device later on.

-
Run play.

-
You should see the virtual device listed. Click “OK”
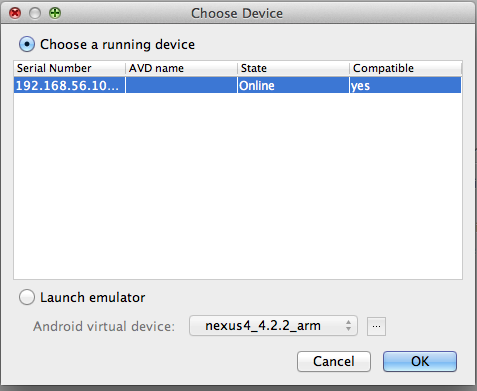
- Idea deploys hello_world app to virtual device (took mine 3-5 seconds).
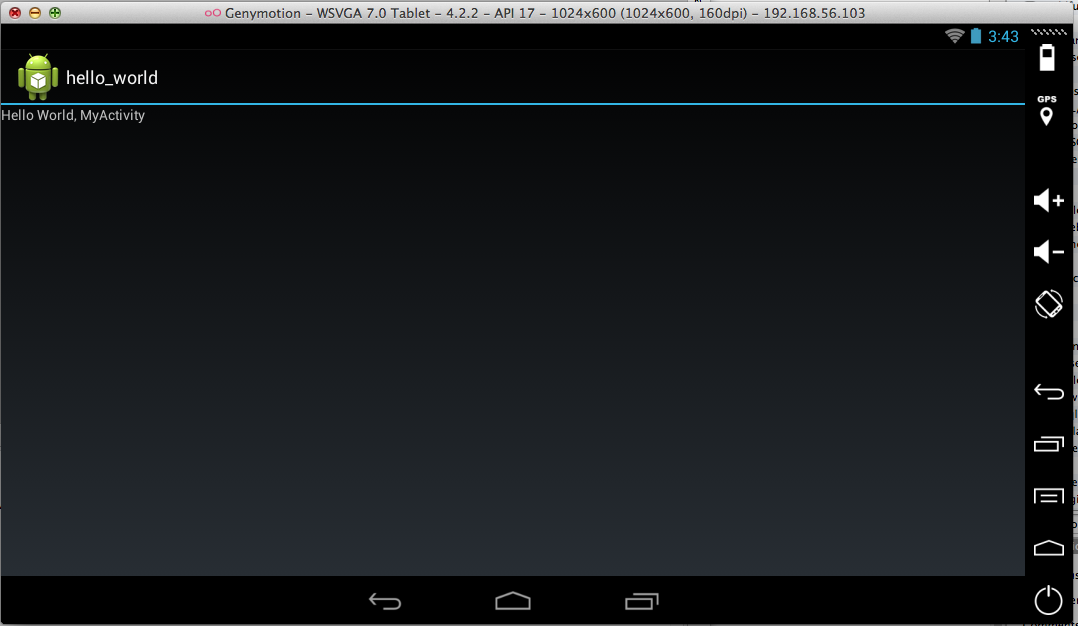
Notes:
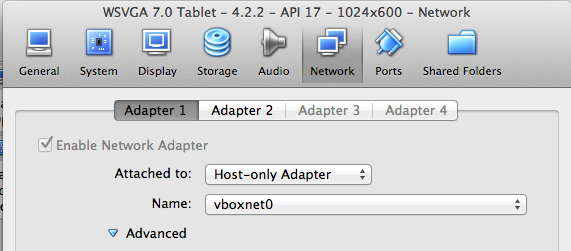
You might need to specify a “host-only” network adapter in VirtualBox.
References:
Download Genymotion
https://cloud.genymotion.com/page/launchpad/download/
Genymotion UserGuide
https://cloud.genymotion.com/page/doc/
Genymotion Features
http://www.genymotion.com/features/