Android Project Setup in IntelliJ12/13 on OSX10.8 Mountain Lion
My current setup involves the following:
– Mountain Lion OSX10.8.4
– IntelliJ IDEA 12.1.4
– JDK1.6.0_51
Update Aug 23, 2013:
– IntelliJ IDEA 130.1619 (Cardea Preview) – Community Edition – Early Access Program (EAP). See screenshot below under Notes.
My main reference is http://www.java-javafx.com/2013/02/first-android-application-on.html
Step 1. Get the JDK
According to the Android Developer System Requirements http://developer.android.com/sdk/index.html, we should have JDK6 (JRE alone is not sufficient).
UPDATE Oct 16, 2013: On IntelliJ’s project settings, you can choose either jdk6 or jdk7. There is no need to remove jdk7 if you need it in other java projects.
1a. Install JDK6 from Apple
https://developer.apple.com/downloads/index.action.
-
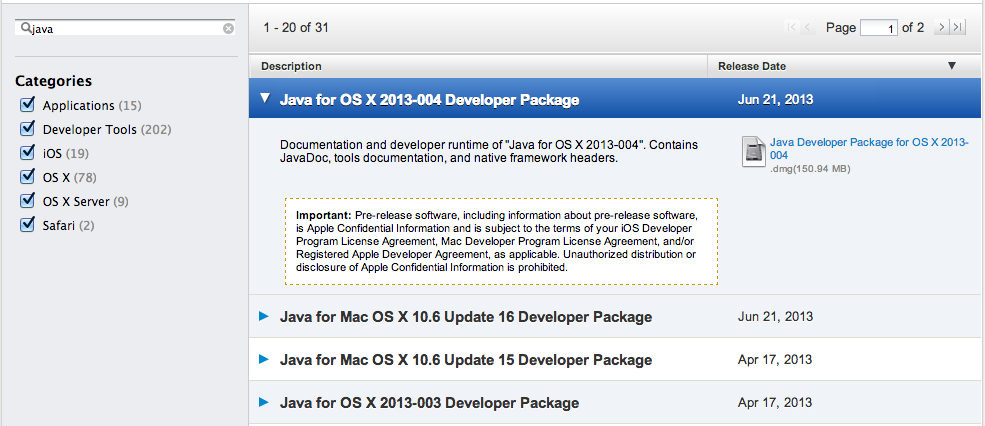
Search for “Java”
-
I downloaded Java for OS X 2013-004 Developer Package (java_for_os_x_2013004_dp__11m4509.dmg)
1b. If you want to remove JDK7, then follow the steps below.
To find traces of JDK installed on my machine.
/System/Library/Java/JavaVirtualMachines /Library/Java/JavaVirtualMachines |
To complicate, I installed Oracle’s JDK7. So to start on a clean slate, I decided to uninstall JDK7 and stick with JDK6.
Removes Java Applet Plugin from System Preferences
http://www.java.com/en/download/help/mac_uninstall_java.xml
cd /Library/Internet\ Plug-Ins/ sudo rm JavaAppletPlugin.plugin |
Removes traces of jdk7
http://docs.oracle.com/javase/7/docs/webnotes/install/mac/mac-jdk.html
cd /System/Library/Java/JavaVirtualMachines sudo rm -rf jdk1.7.0_06.jdk |
Step 2. Android SDK
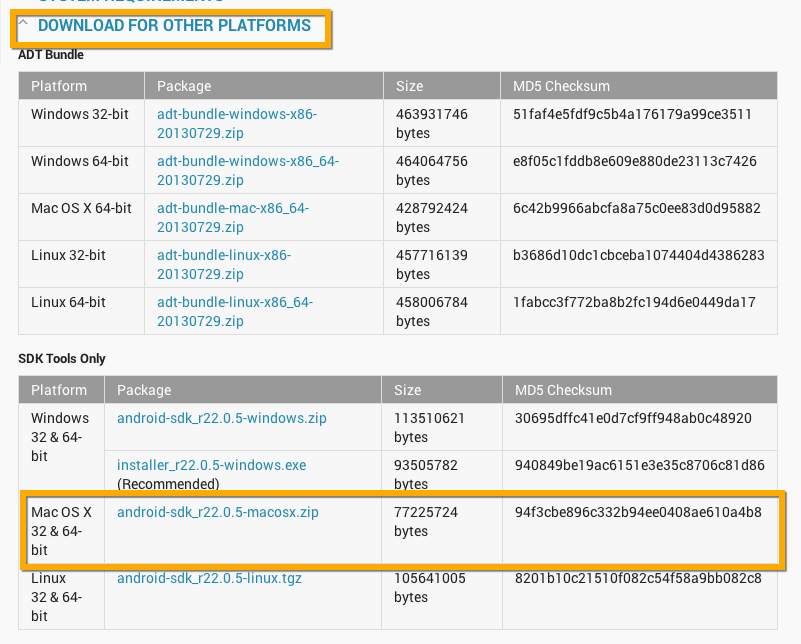
Download the android-sdk for MacOSX http://developer.android.com/sdk/index.html
Once download is complete, I transferred android-sdk-macosx to /Developer
/Developer/android-sdk-macosx% l total 8 -rw-r----- 1 rupert staff 1.1K 29 Jul 16:00 SDK Readme.txt drwxr-x--- 2 rupert staff 68B 29 Jul 16:00 add-ons/ drwxr-x--- 2 rupert staff 68B 29 Jul 16:00 platforms/ drwxr-x--- 36 rupert staff 1.2K 21 Aug 13:29 tools/ |
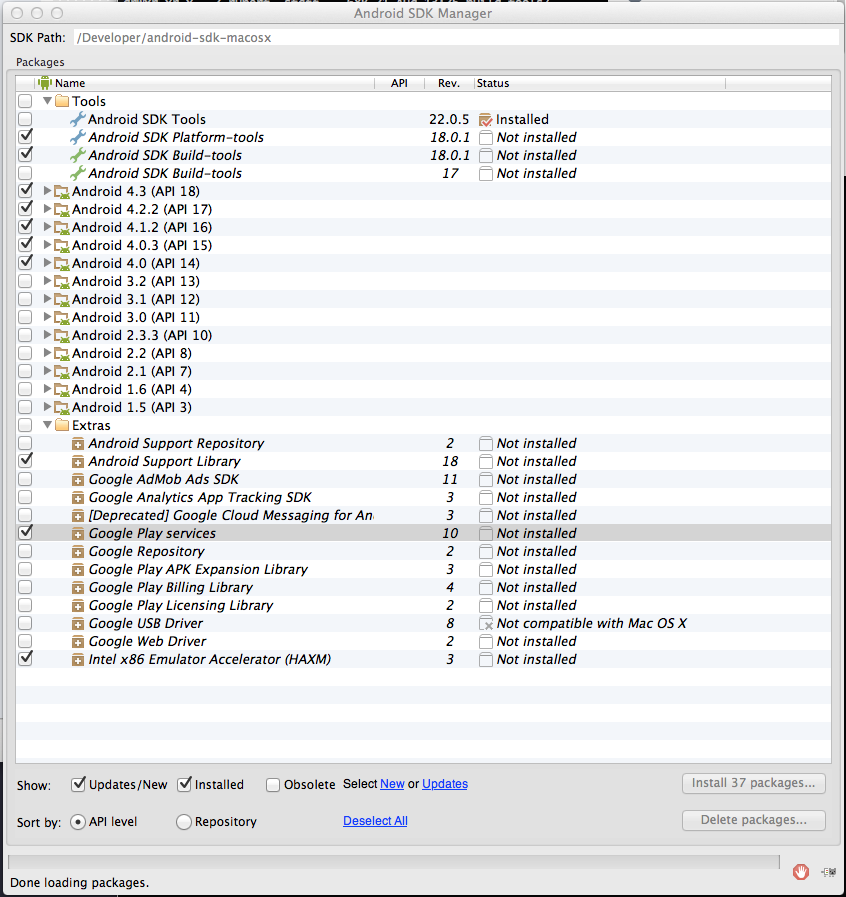
Step 3. Install Android Platform from the Android-SDK-Manager
Launch android-sdk-manager from the tools directory
/Developer/android-sdk-macosx% cd tools /Developer/android-sdk-macosx/tools% ./android |
Select the packages
Step 4. Add Android SDK to your project
- Open Idea
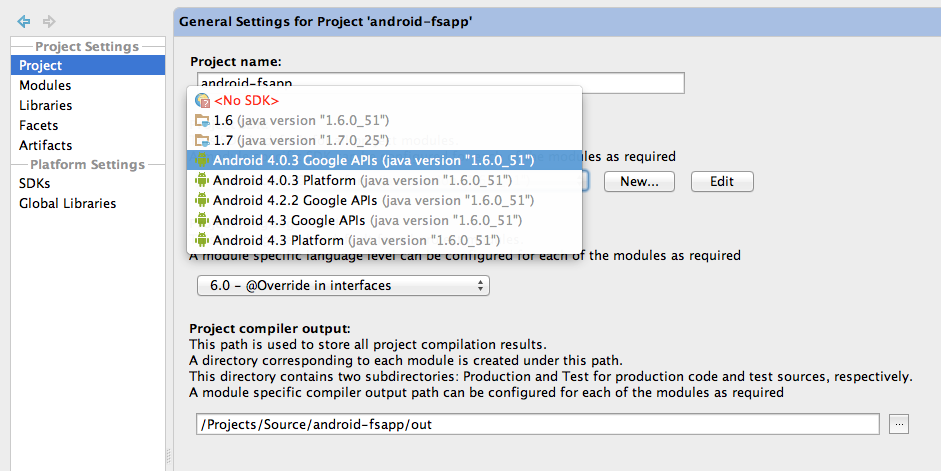
- Click on your project and navigate to > Project Defaults > Project Structure
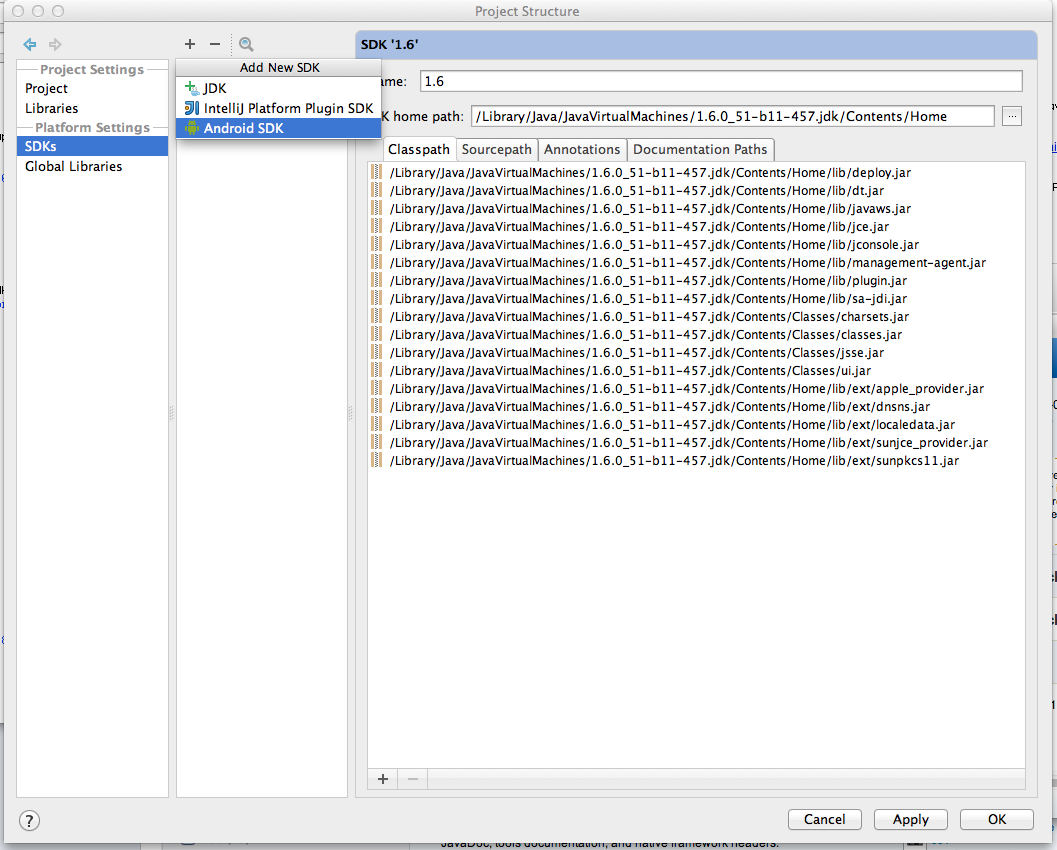
- Click on “+” > “Android SDK”.
- Specify android-sdk-macosx path (/Developers/android-sdk-macosx). Click “Choose”.
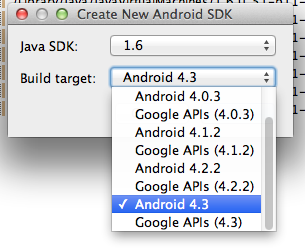
- Shows a drop down list which displays “Java SDK:” and “Build target”. Choose which target you want to support.
- Hit “OK”
Step 4. Create a new Android Project
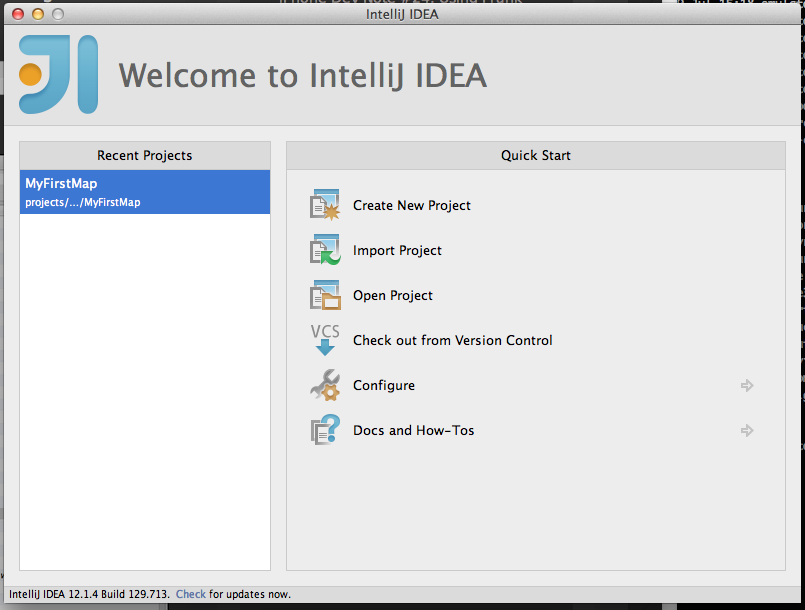
- From the Welcome screen, click on “Create New Project”
- Specify the following settings:
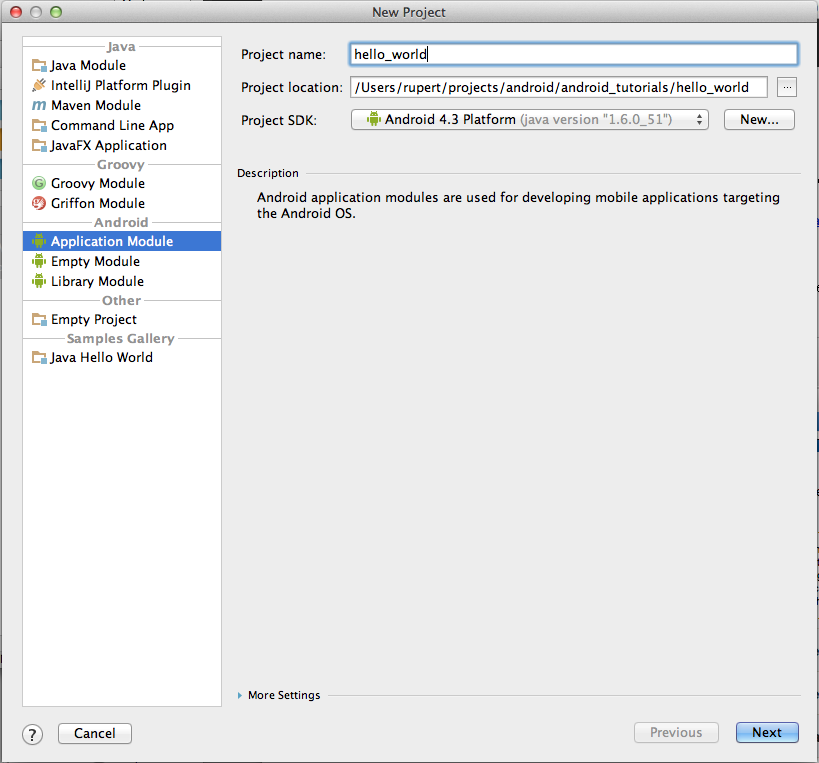
a. Select “Application Module”
b. In “Project name:”, specify “hello_world”
c. In “Project SDK:”, choose “Android 4.3 Platform (java version “1.x.x”)”
Hit “Next”
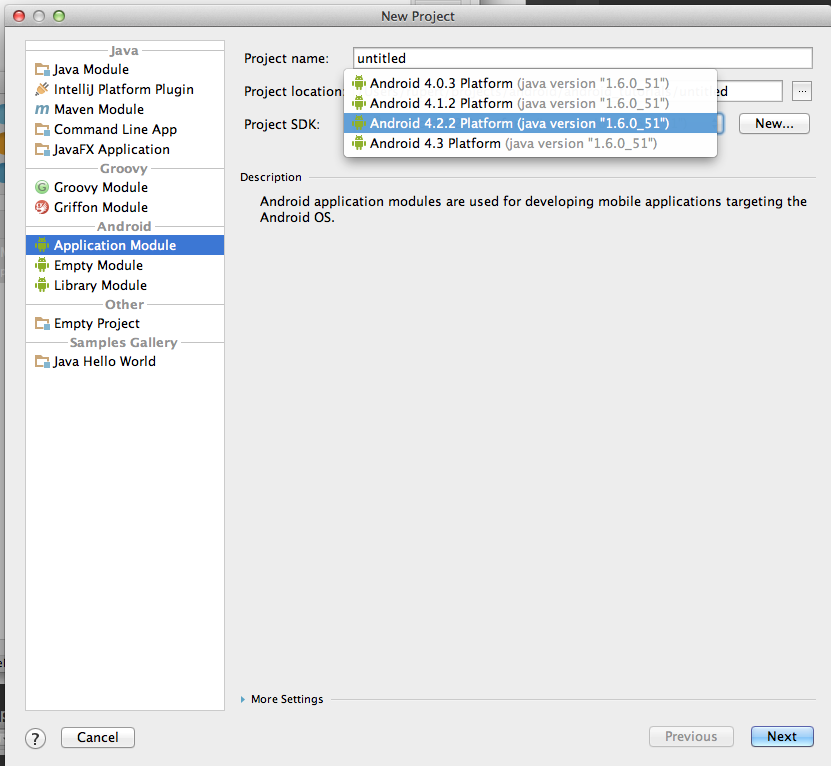
Important:
Take this time to load as much SDKs by clicking on “New” > Choose directory (/Developer/android-sdk-macosx)
- In Project properties, you can create an “Android Virtual Device” from the avd manager.
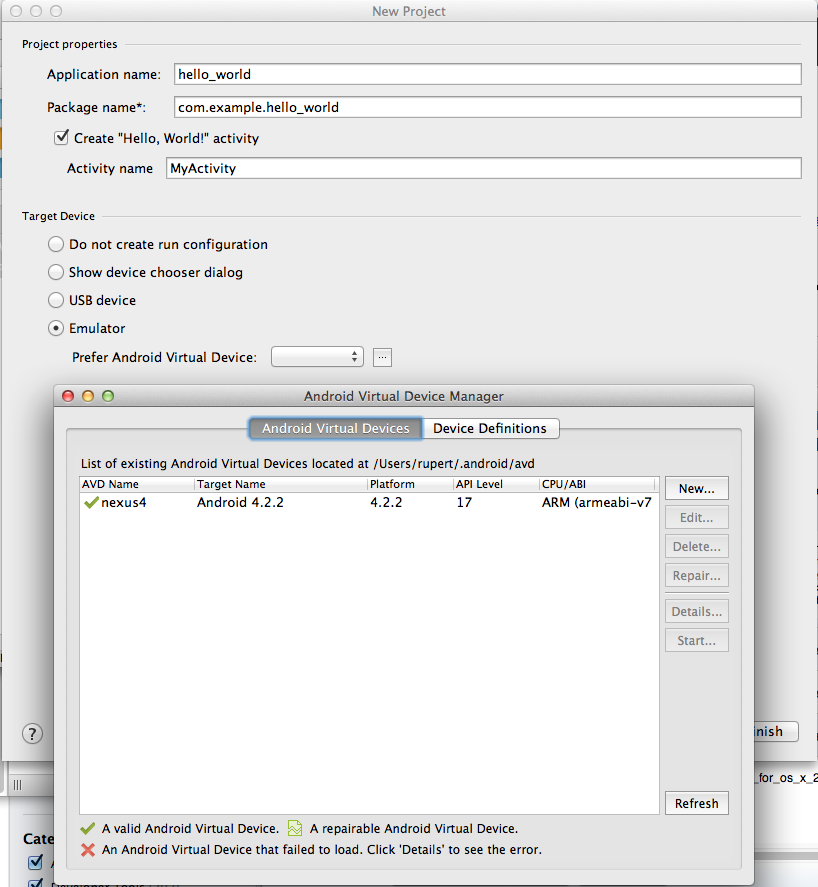
Hit “Finish”.
-
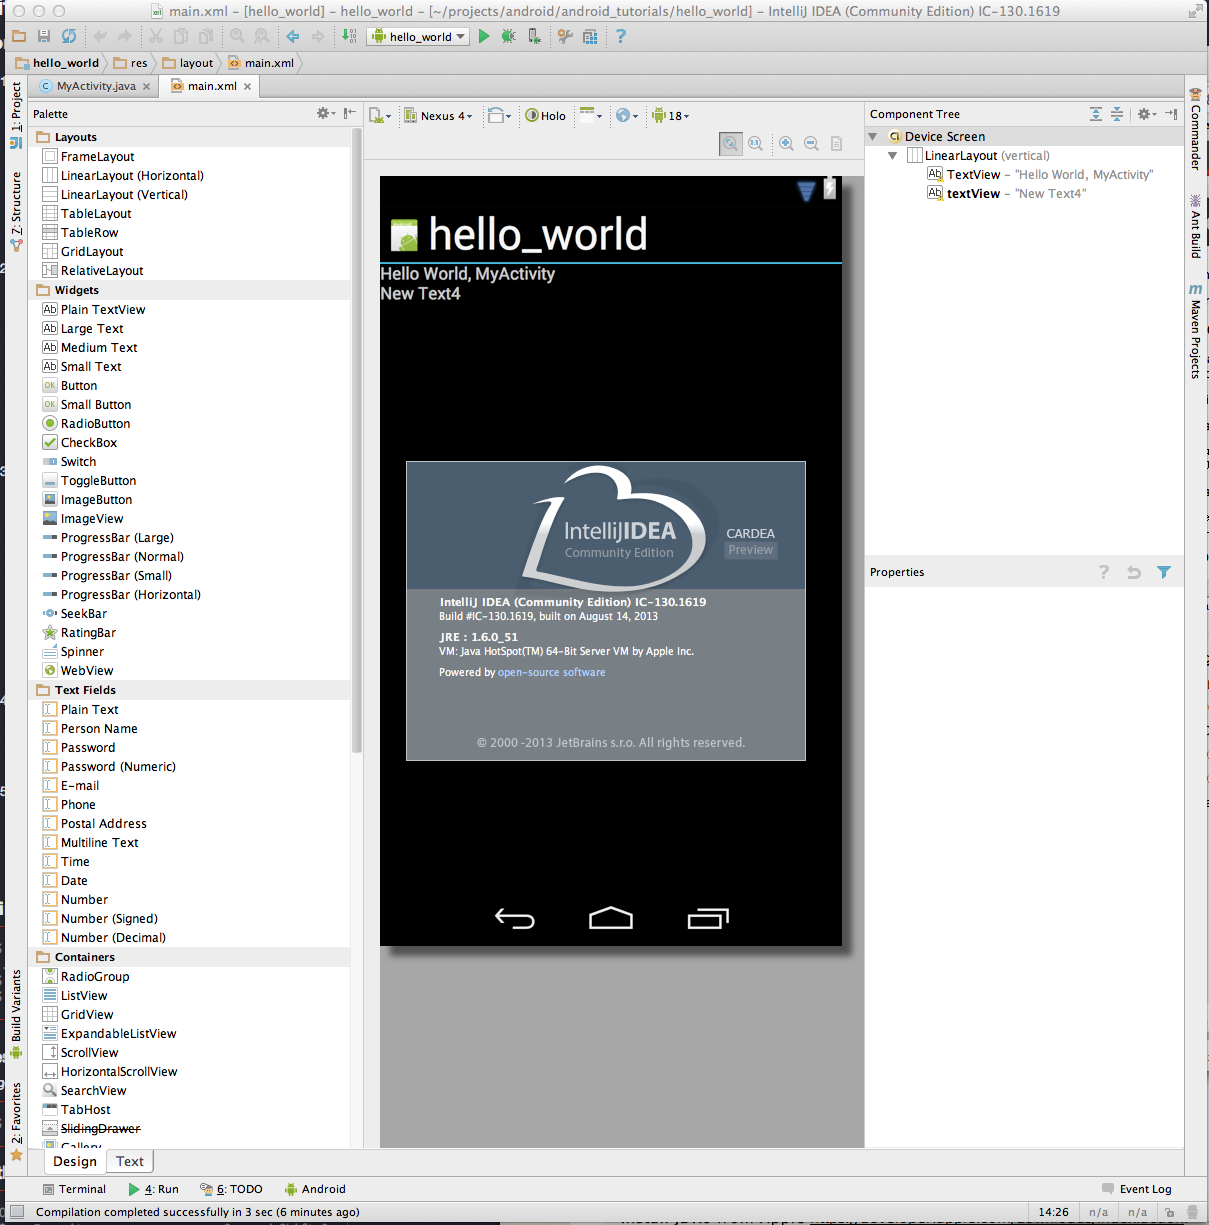
Project Loads
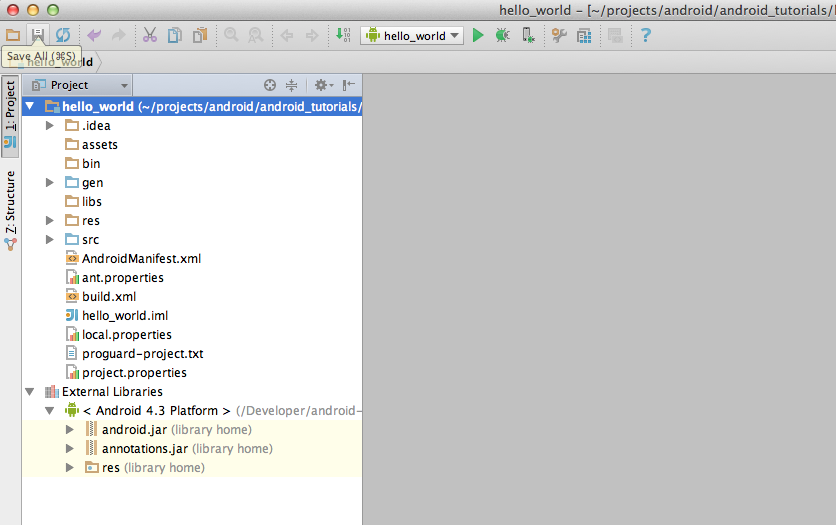
-
Hit the play button to run the adb. It will launch the emulator. Be patient.

Notes
Idea13-EAP (Community Edition) is better in terms of the Layout Designer.