iPhone Note #4: Upgrading iPhoneSDK3.1.3 and iPhoneOS Device
Apple has been releasing incremental betas in a short span of time. The ff steps would help me in documenting how to upgrade the SDK and iPhoneOS.
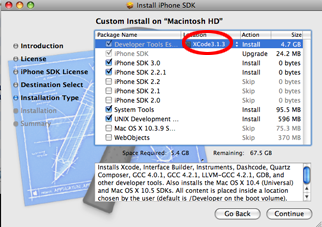
Part 1: iPhone SDK
- For upgrading, we are going to choose “Custom install” into a directory “XCode3.1.3″ which I installed a few weeks ago. If you don’t change this, it will be installed in a default directory “Developer”.
Part 2: iPhone OS
- Sync in iTunes. I deleted all videos and music so it would sync and backup faster. Tick the checkbox:
– “Sync only checked songs and videos”
– “Manually manage music and videos”
-
To backup, right click on “rupert’s iPhone” on the left panel -> Backup.
-
If you want to remove previous backups:
iTunes -> Preferences -> Devices
-
Eject the device and we will handle the restore from Organizer.
-
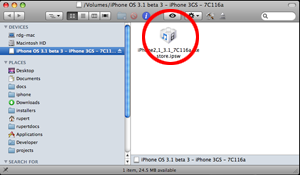
Unpack the ipsw and transfer it to your desktop.
-
XCode -> Organizer -> Software Images. Drag the ipsw from your desktop to Organizer. You should see your new OS Version listed.
-
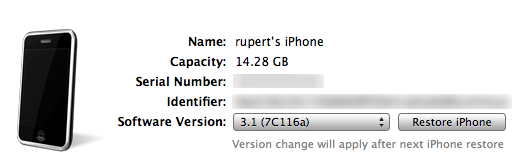
Plug the iPhone device. Organizer detects it. Restore.
-
“Restoring this iPhone will erase all of its data. Are you sure ou want to continue?” – No worries, we made a backup earlier.
-
Messages from Organizer:
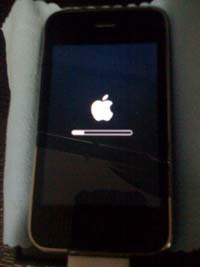
Restoring image..
Checking Filesystems..
Mounting Filesystem..
Flashing NOR..
Updating baseband..
The device is not currently connected. (DO NOT PANIC)
-
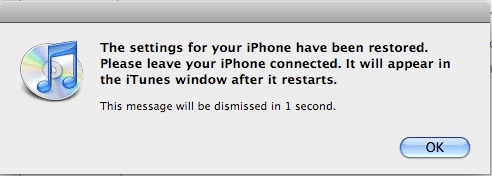
Sync it in iTunes. Congratulations! Your iPhone is activated.
-
Restore from your backup. Take a break.
-
Sync and Restore is done.
- Afterwards iTunes detect its as usual, eject it from the “Devices” in the left panel. We will use XCode instead:
Xcode -> Organizer -> Devices
-
Notice the gray ball beside it? Click “Use for Development” and it would change from yellow to green. Your provisioning profile should still be there.
-
Test by deploying an application. Ensure that you choose “iPhone Device 3.1″ from the Active SDK.